Video surveillance systems are essential for ensuring security and safety in various settings, ranging from homes and small businesses to large corporations and public spaces. However, like any other electronic system, video surveillance systems can encounter wiring issues that may affect their performance or cause them to fail entirely. This article provides a comprehensive guide on video surveillance system wiring troubleshooting to help you identify and resolve common wiring problems.
Understanding Video Surveillance System Wiring
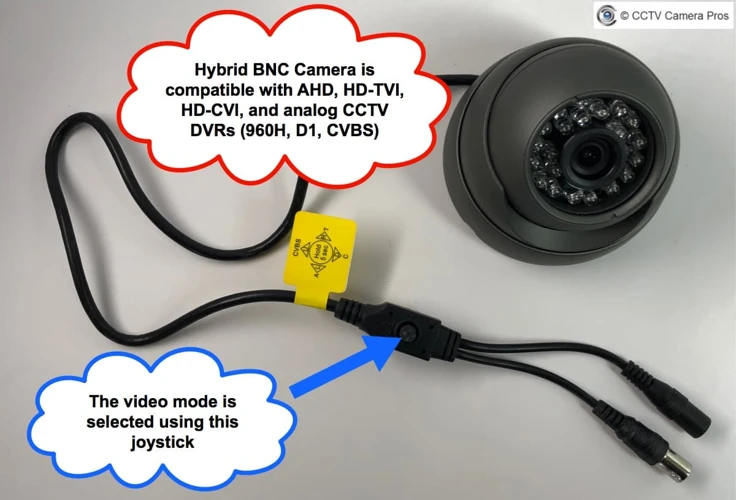
To effectively troubleshoot video surveillance system wiring issues, it’s crucial to understand the basic components and wiring configurations. A typical video surveillance system consists of cameras, a digital video recorder (DVR) or network video recorder (NVR), and a monitor or display. The cameras capture video footage and transmit it to the DVR or NVR via coaxial cables, twisted pair cables, or IP networks. The DVR or NVR then records and stores the footage, which can be accessed and viewed on a monitor or display.
Common Video Surveillance System Wiring Issues
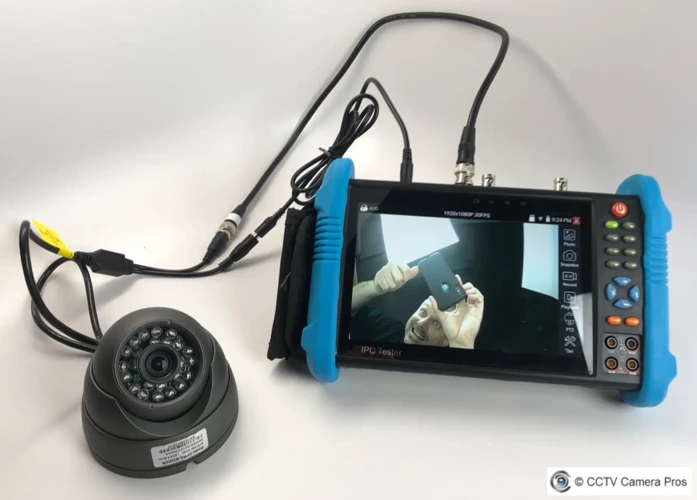
Some common video surveillance system wiring issues include:
1. Poor cable connections: Loose or damaged cable connections can cause intermittent video feeds or complete signal loss.
2. Insufficient power supply: Inadequate power supply or incorrect wiring can lead to camera malfunctions or failure.
3. Incorrect cable type or length: Using the wrong type or length of cable can result in signal degradation or interference.
4. Damaged cables: Physical damage to cables due to wear, tear, or environmental factors can disrupt video transmission.
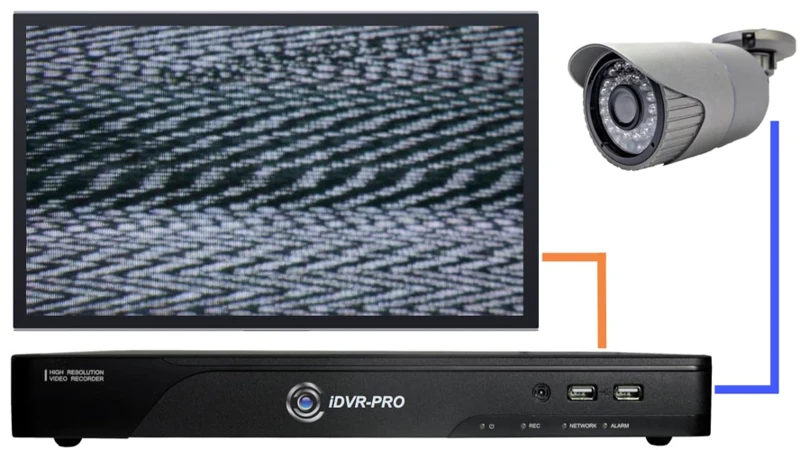
5. Improper grounding: Poor grounding can cause electrical interference, leading to video noise or signal loss.
Tools Required for Video Surveillance System Wiring Troubleshooting
To troubleshoot video surveillance system wiring issues, you’ll need the following tools:
1. Multimeter: A multimeter measures voltage, resistance, and continuity, helping you identify cable issues and power supply problems.
2. Cable tester: A cable tester checks for continuity, short circuits, and cable faults, ensuring proper cable connections and signal transmission.
3. Wire stripper: A wire stripper removes the insulation from wires, allowing you to make secure cable connections.
4. Screwdrivers: Screwdrivers are used to secure cable connections and fasten components in place.
5. Fish tape: Fish tape helps you pull cables through walls, ceilings, and other tight spaces.
Step-by-Step Video Surveillance System Wiring Troubleshooting Guide
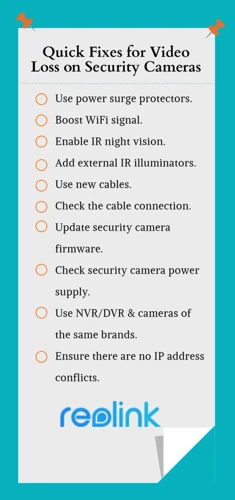
Follow these steps to troubleshoot video surveillance system wiring issues:
Step 1: Check Power Supply
Ensure that the power supply is properly connected and provides adequate power to all cameras and the DVR or NVR. Use a multimeter to measure the voltage at the power source and at each camera, comparing the results with the manufacturer’s specifications.
Step 2: Inspect Cable Connections
Examine all cable connections for tightness and damage. Secure any loose connections and replace any damaged cables. Use a cable tester to verify continuity and identify any short circuits or cable faults.
Step 3: Confirm Cable Type and Length
Verify that the correct type and length of cable are used for each connection. Consult the manufacturer’s guidelines for recommended cable types and maximum cable lengths. Replace any inappropriate cables with suitable alternatives.
Step 4: Inspect Cables for Damage
Check cables for physical damage, such as cuts, abrasions, or crush injuries. Replace any damaged cables to prevent signal interference or loss.
Step 5: Test Grounding
Ensure that all components are properly grounded to prevent electrical interference. Use a multimeter to measure the resistance between the ground wire and the earth, verifying that the ground connection is secure and effective.
Step 6: Consult Manufacturer’s Guidelines
Refer to the manufacturer’s guidelines for troubleshooting and maintenance procedures specific to your video surveillance system. Follow their recommendations to resolve any identified issues.
Preventive Measures
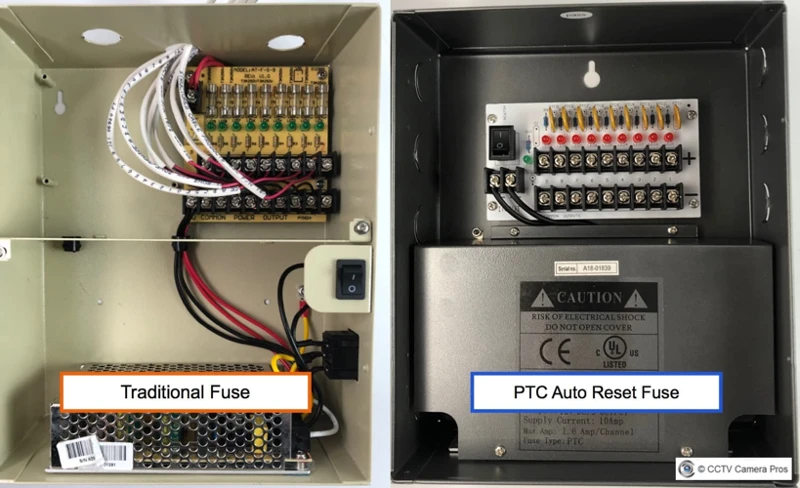
To minimize the likelihood of video surveillance system wiring issues, consider the following preventive measures:
1. Regularly inspect cables and connections for signs of wear, tear, or damage.
2. Use high-quality cables and components designed for video surveillance applications.
3. Keep cables organized and properly secured to prevent damage from foot traffic, equipment, or environmental factors.
4. Periodically test cable continuity and power supply to ensure optimal system performance.
Having issues with your video surveillance system wiring? Check out our articles on wireless surveillance connectivity troubleshooting, wired video surveillance troubleshooting, and video surveillance troubleshooting tips for helpful solutions. If you need guidance on how to install video surveillance wiring, we’ve got you covered. Learn about the benefits of video surveillance alarm systems to enhance your security setup!
Conclusion
Video surveillance system wiring troubleshooting is a critical skill for maintaining the performance and reliability of your security system. By understanding common wiring issues and following the step-by-step troubleshooting guide provided in this article, you can quickly identify and resolve wiring problems, ensuring the continued protection of your property and assets. Regular inspections, proper cable management, and timely maintenance will further minimize the risk of wiring issues and prolong the lifespan of your video surveillance system.


